TECH GUIDES FOR PRACTICAL BUILDERS
Learn faster. Build cleaner. Evolve with confidence.
UpBrightSkills publishes hands-on tutorials, architecture notes, automation playbooks, and security-focused engineering guides for people who like to ship real work.
Fresh articles surfaced for quick learning
Focused technology tracks to explore
Published guides across the knowledge base
Trending reads picked by reader activity
Featured Posts
Editor-picked posts with practical steps, cleaner layouts, and useful technical takeaways.

Claude Fable 5 Is Here. And It Changes More Than You Think
Read Guide
Can AI Replace Humans? Let's Have an Honest Conversation
Read Guide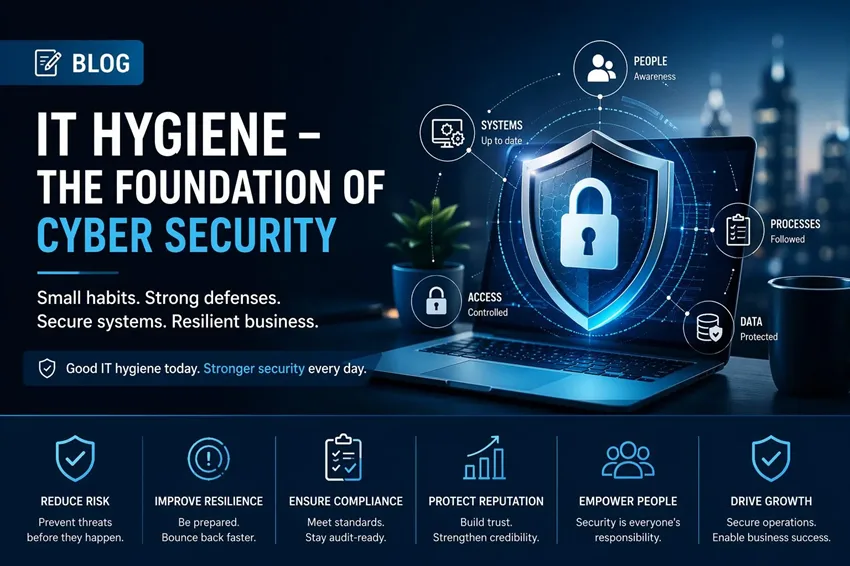
IT Hygiene – Why the Basics Still Matter Today
Read Guide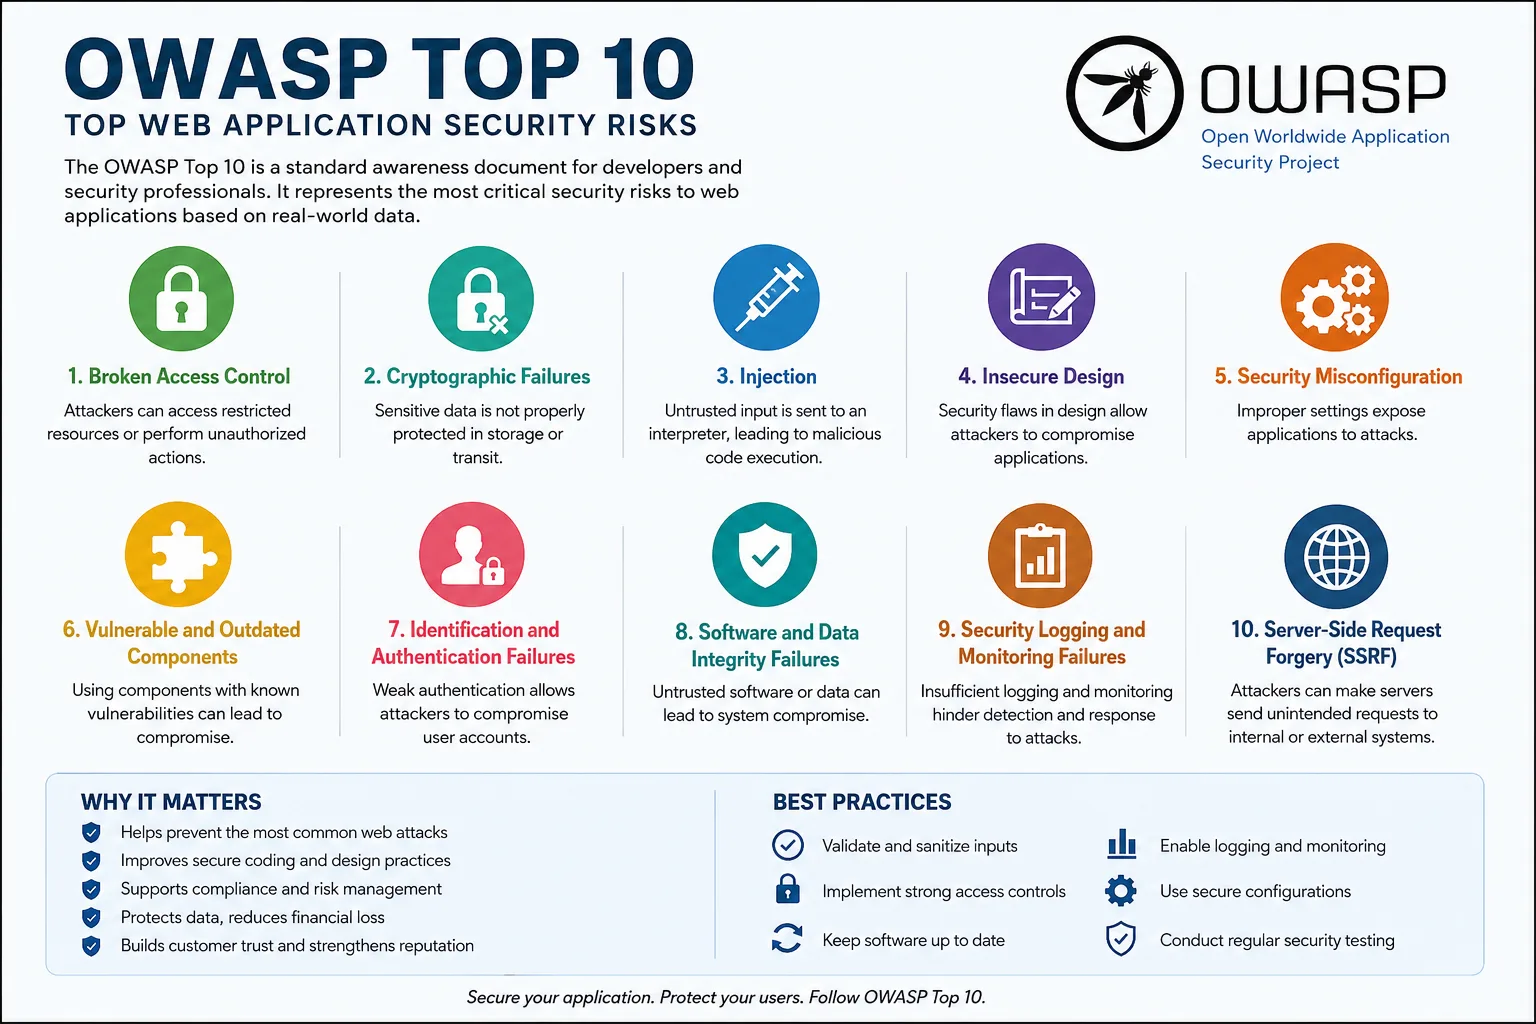
OWASP Top 10: Why It Matters for Every Business and Developer
Read Guide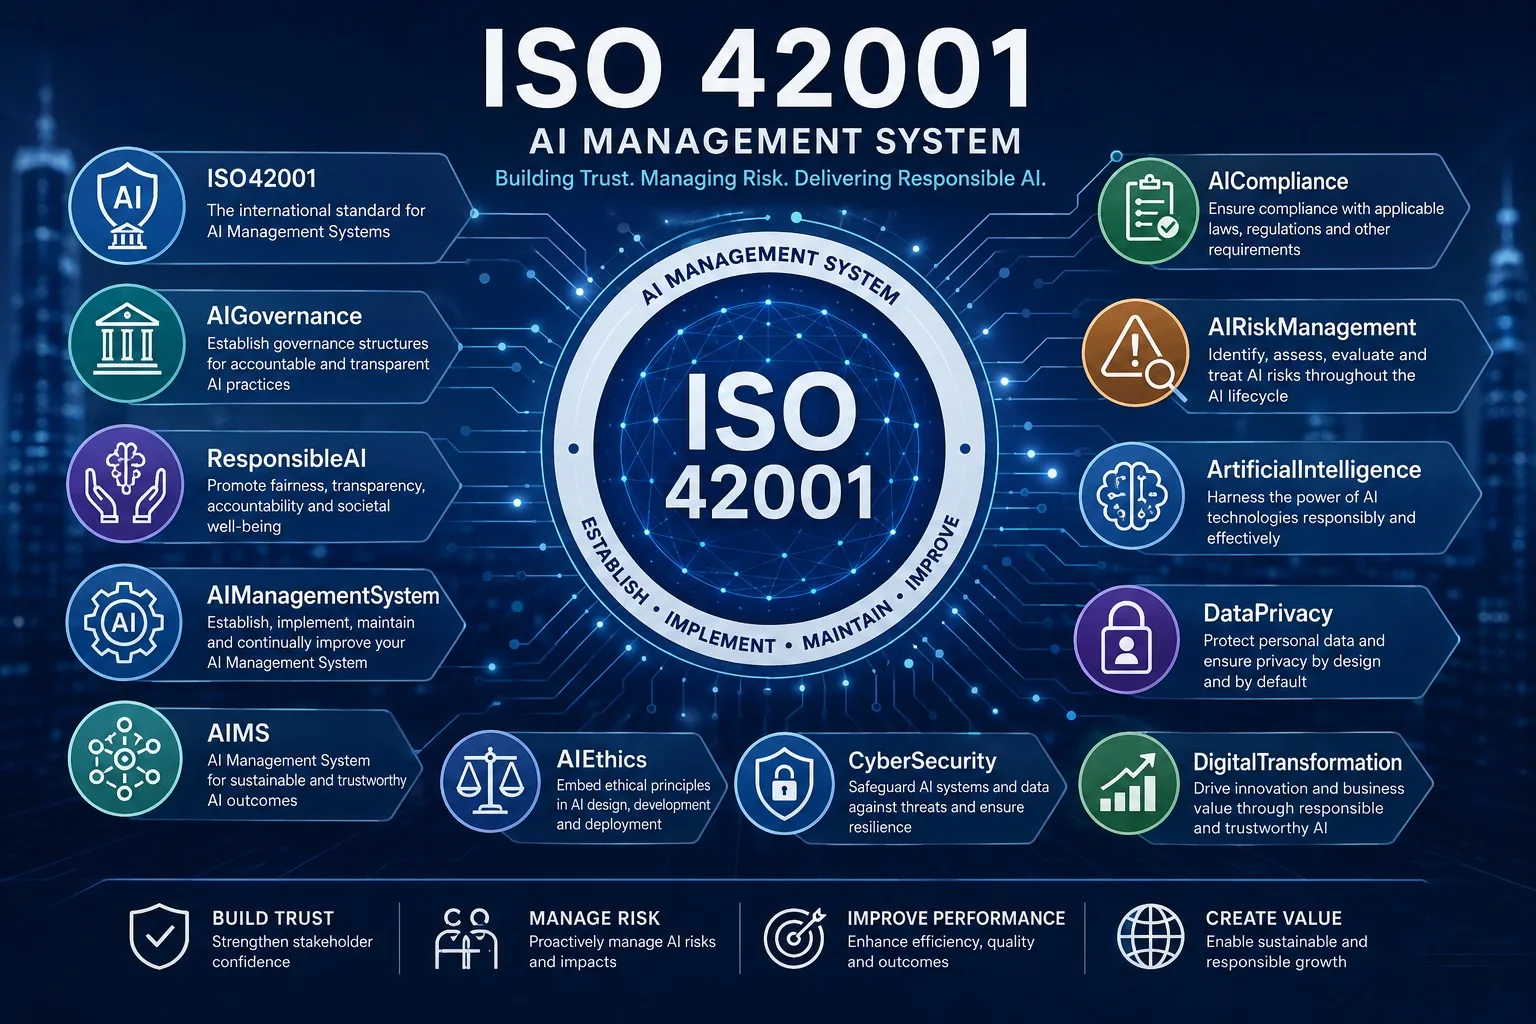
ISO/IEC 42001 Explained: The AI Management Standard You Need
Read Guide
Beyond the IDE: How Google Antigravity 2.0 is Redefining Agentic Software Development
Read Guide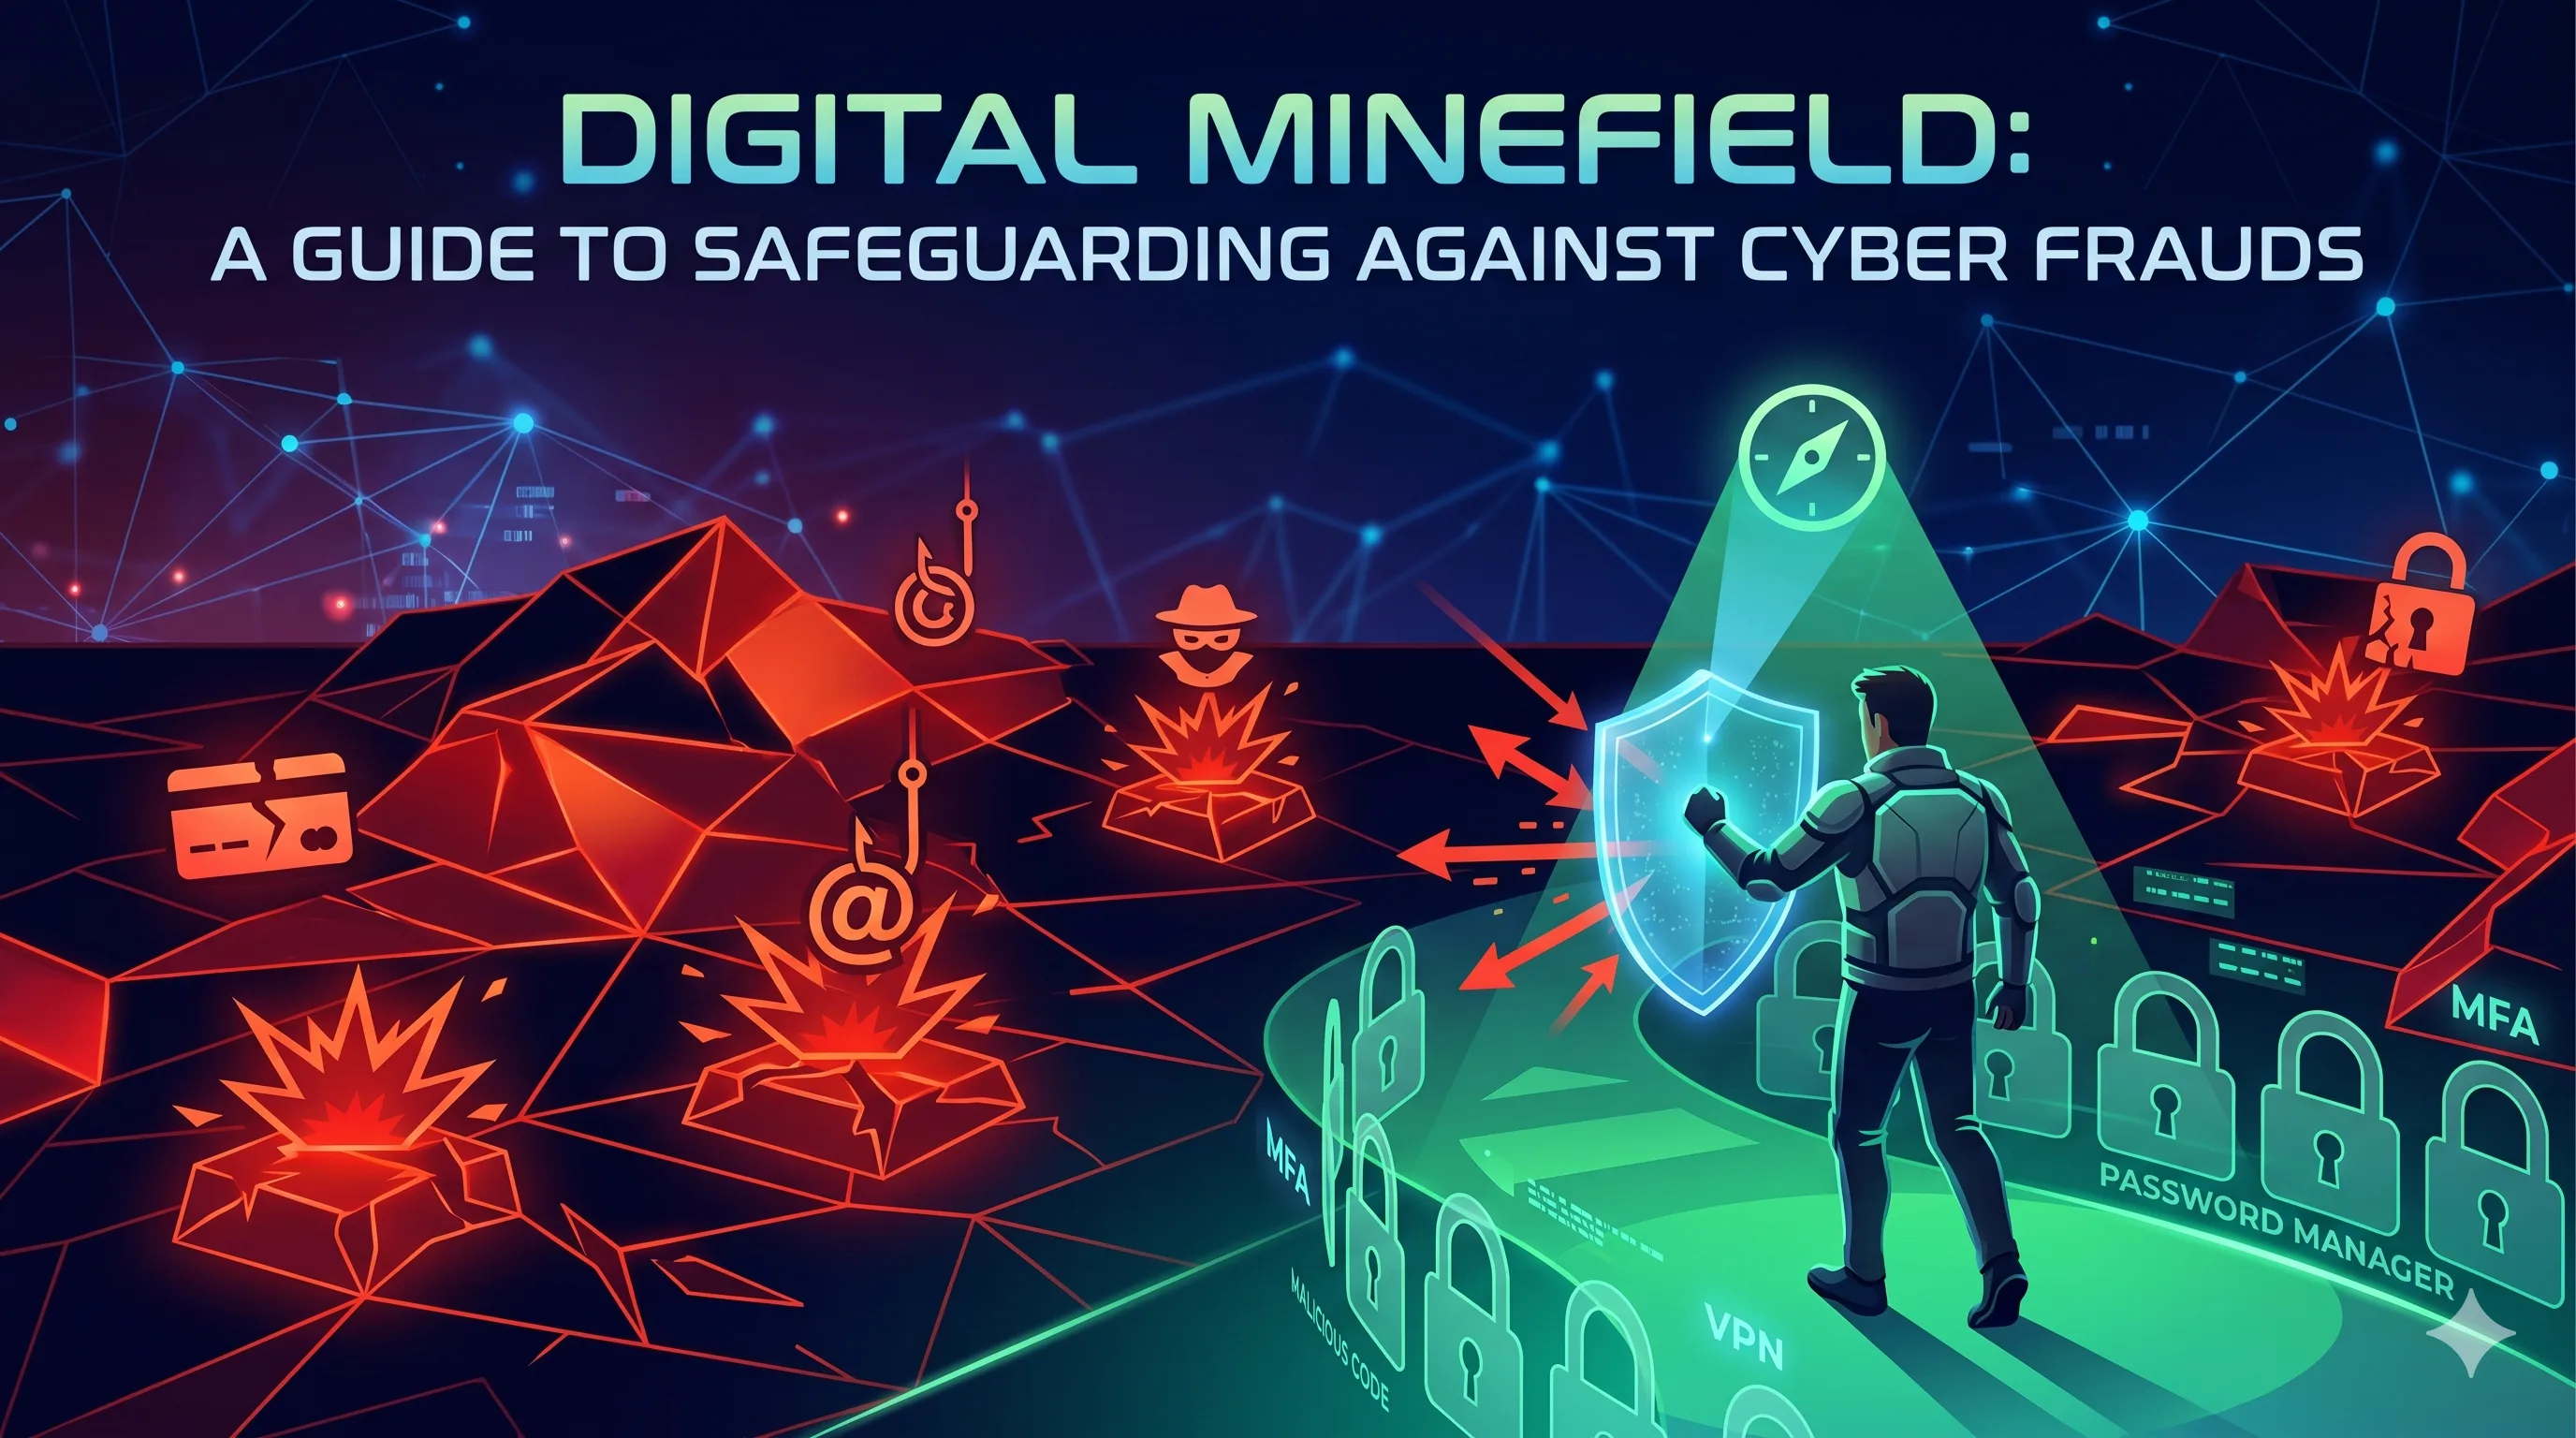
A Guide to Safeguarding Against Cyber Frauds
Read Guide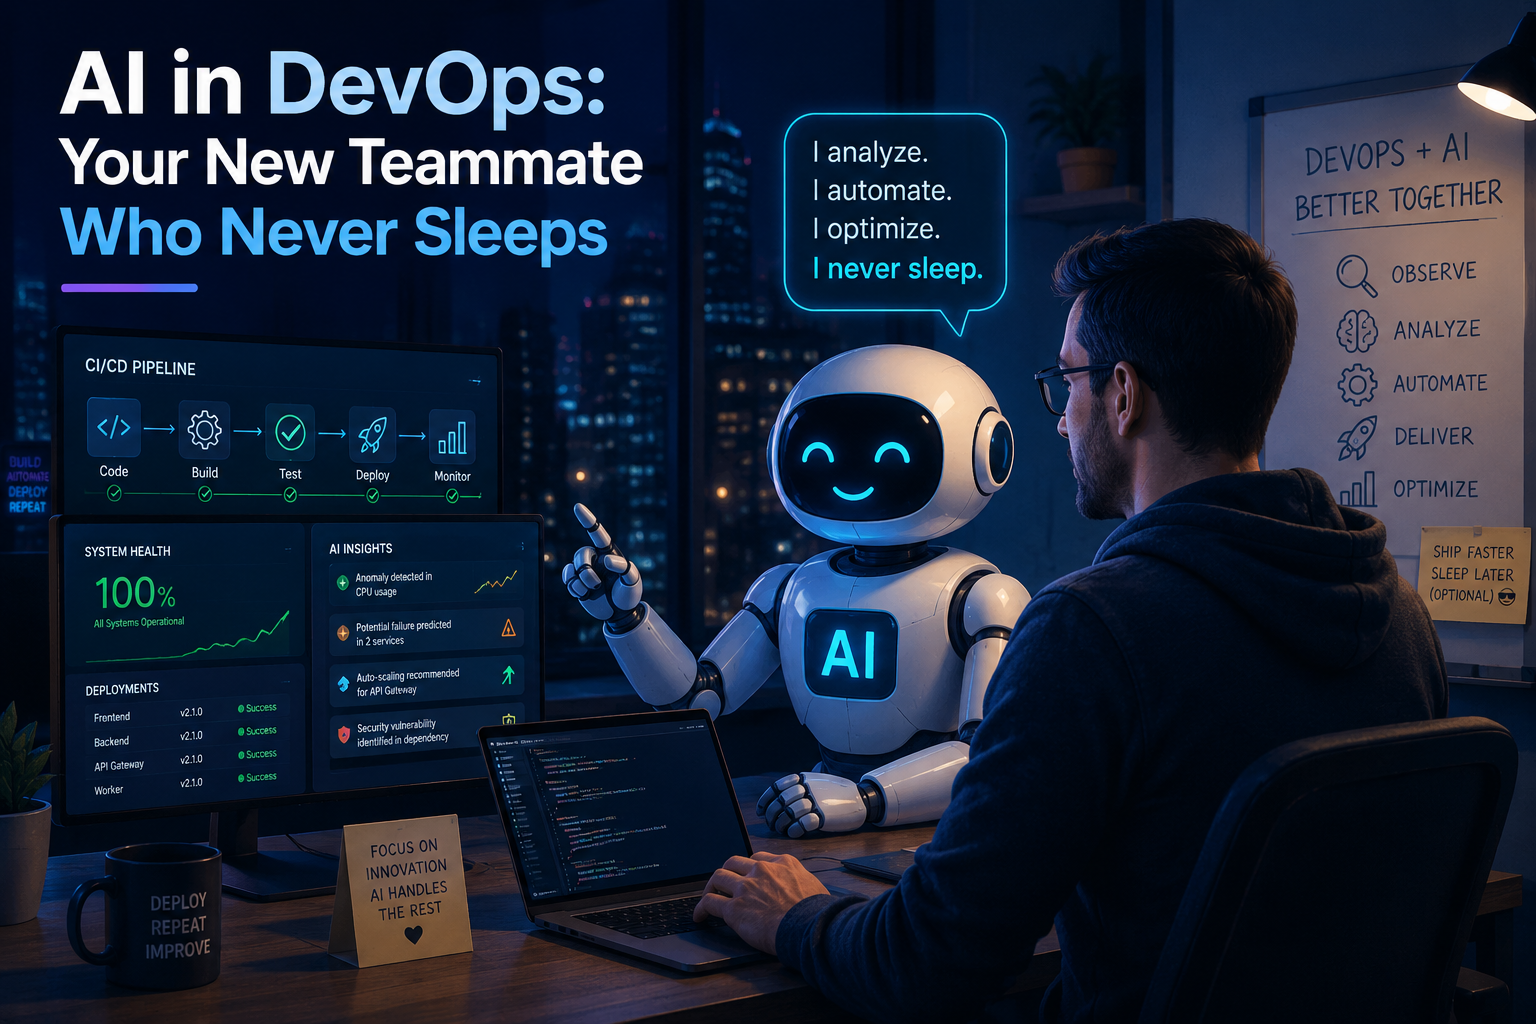
AI in DevOps: Your New Teammate Who Never Sleeps
Read Guide
AI Ethics
Read Guide
AI - Token Efficiency & Smarter Prompting
Read GuideExplore by Topic
Jump straight into the areas that matter to your next build.
Latest Articles
Recent notes, walkthroughs, and implementation patterns from the UpBrightSkills library.
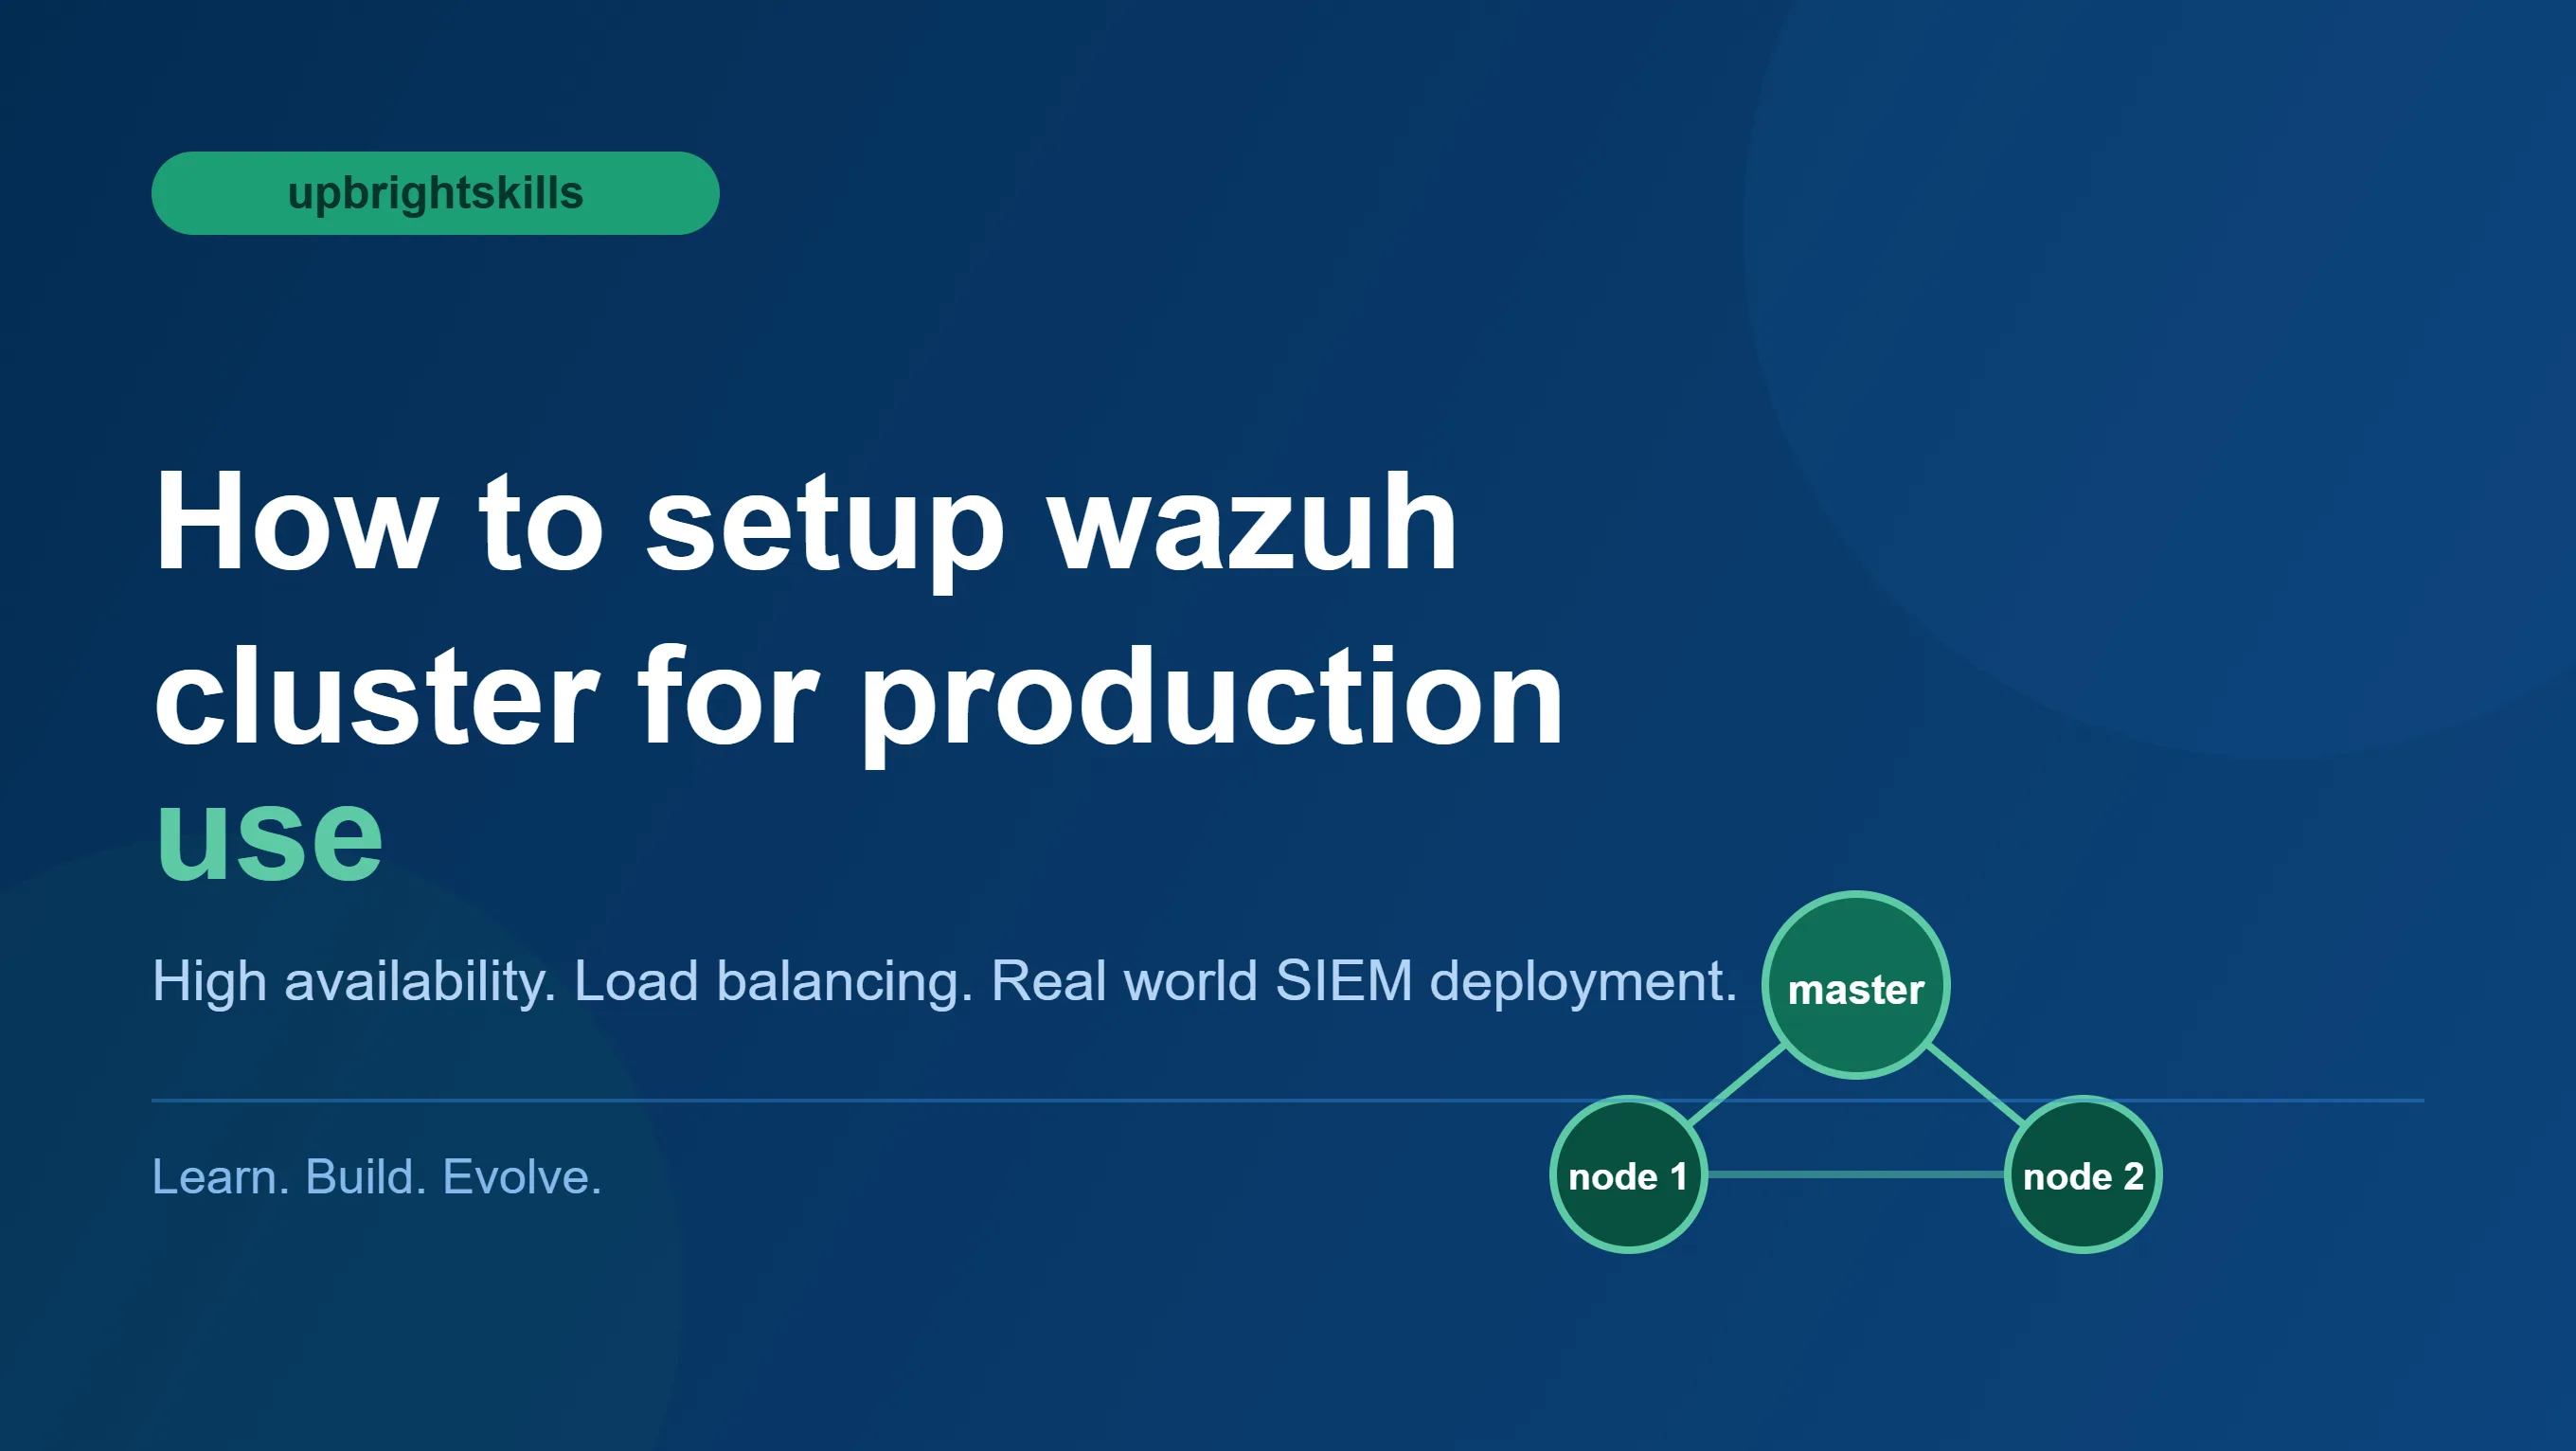
How to Setup Wazuh Cluster for Production Use
Why This MattersRunning Wazuh as a single node is fine for a lab or a small team. But in production, a single node is a liability — one failure and your entire secur...
Continue Reading
Claude Fable 5 Is Here. And It Changes More Than You Think
On June 9, 2026, Anthropic quietly dropped something big.Not "big" in the usual marketing sense — new numbers, new benchmarks, new announcement video.Big as in: this...
Continue Reading
Can AI Replace Humans? Let's Have an Honest Conversation
Every week, someone in my team asks some version of the same question: "Should I be worried about my job?"And honestly? I get it. The tools we're using today — GitHu...
Continue Reading
IT Hygiene – Why the Basics Still Matter Today
Your biggest security risk today isn’t a sophisticated zero-day attack. It’s the basics that get overlooked — an inactive admin account, a delayed patch, or a reused...
Continue Reading
OWASP Top 10: Why It Matters for Every Business and Developer
In today’s digital world, web applications are everywhere — banking portals, e-commerce websites, healthcare platforms, SaaS tools, and even internal company systems...
Continue Reading
ISO/IEC 42001 Explained: The AI Management Standard You Need
Organizations are adopting AI faster than they're managing it — and the risks are real. ISO/IEC 42001, the world's first international AI Management System standard...
Continue ReadingWHY READ UPBRIGHTSKILLS
Built for people who need usable answers, not theory overload.
Each article is shaped around real implementation work: commands that fit together, screenshots and examples where useful, and enough context to help you make the right trade-off.
Start LearningSecurity-aware by default
Guides include operational and security context so your builds stay maintainable.
Hands-on technical depth
Step-by-step workflows for Linux, DevOps, cloud, automation, and platform setup.
Fast paths to action
Clear CTAs, topic filters, and related reads help users keep momentum.